
Blog
Why Does My Mixer Jug Leak at the Bottom?

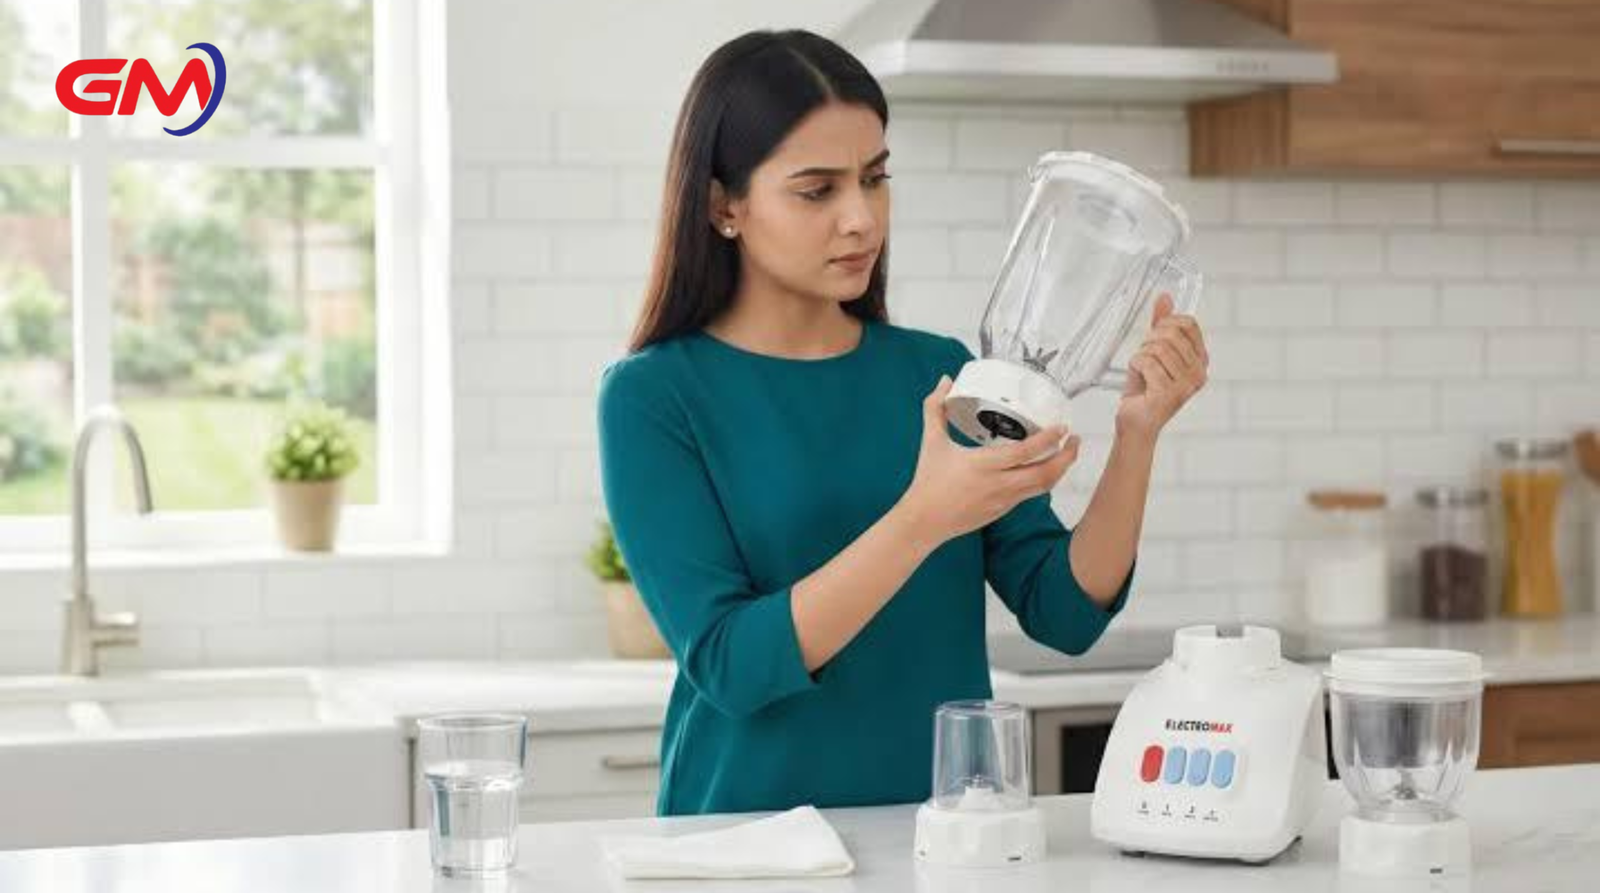
Why Does My Mixer Jug Leak at the Bottom? Causes and Easy Fixes
A mixer jug usually leaks at the bottom for one of two reasons: the rubber sealing ring (gasket) is worn out, or the blade assembly has come loose. Less often, the jug itself is cracked or its threads are damaged. The good news is that most leaks can be fixed at home in about ten minutes with a screwdriver and, if needed, a new sealing ring. Follow the steps below to find the cause and stop the leak.
Safety first: Always unplug the mixer and remove the jug from the motor base before you inspect or repair it. Handle the blades with care, as they are very sharp.
Step 1: Find Where the Water Is Leaking From
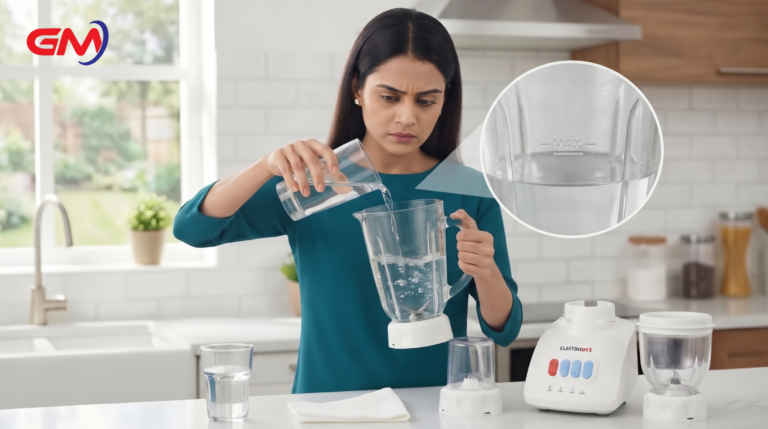
Wash and dry the jug completely. Place it on a dry cloth or paper towel, fill it halfway with water, and wait about five minutes. Then check where the water appears:
- Center of the base: the blade assembly is loose or the sealing ring is worn.
- Edge of the base: the locking ring or nut is loose or damaged.
- A thin line on the jug wall or bottom: the jug is cracked.
Step 2: Tighten the Blade Assembly
Turn the jug upside down and look for the nut or screw in the center of the base. Tighten it with a screwdriver or a wrench that fits properly. Turn it until it feels snug, then give it just a little more. Do not force it, because over-tightening can crack the plastic or squash the rubber ring. Fill the jug with water again and test. If it still leaks from the center, the sealing ring needs to be replaced.
Step 3: Replace the Rubber Sealing Ring
The sealing ring sits around the base of the blade and keeps water inside the jug. With time, heat, and harsh detergents, it becomes flat, cracked, or stretched and can no longer seal properly.
Getting the right replacement: The easiest way is to take the old ring to a mixer parts shop. If you cannot, measure the ring in millimeters with a ruler: the inner diameter, the outer diameter, and the thickness. Also note your mixer's brand and model number.
To replace the ring:
- Hold the blade from inside the jug so it does not spin, and loosen the nut or screw underneath.
- Remove the blade, the old ring, and any washers. Note the order in which they come off.
- Clean all the parts and dry them well.
- Fit the new ring, then the washers and the blade in the same order.
- Tighten the nut or screw until snug, with only a slight extra turn.
- Fill the jug with water and test for five minutes.

Step 4: Check the Base Ring and Locking Nut
Some jugs also have a base ring and a locking nut that hold the blade assembly in place. If the ring is cracked, or the nut is loose or cross-threaded, water can escape. Remove them, clean any residue from the threads, and check that everything is in good condition. Refit the parts in the correct order and tighten securely. Replace any damaged part before using the jug again.
Step 5: Do Not Overfill the Jug
Every jug has a maximum fill line, usually marked on the inside. Filling above it can push liquid through the seal and put extra stress on the jug. If there is no mark, leave at least 2.5 cm (1 inch) of space at the top. For hot liquids, let them cool slightly first and blend in small batches.
When the Jug Itself Is Damaged
Plastic jugs can crack after a drop, after very hot liquids, or after sudden temperature changes. Even a hairline crack will leak. Glue is not a safe or lasting fix, especially for a container that holds food and heat, so a cracked jug should be replaced. A jug with a warped or melted bottom edge, or with stripped threads, also cannot seal properly and needs replacing.
To order the right one, note the brand and model number, which are usually printed on the jug base or on the label under the mixer unit. A repair shop can sometimes fix damaged threads, but a new jug is often cheaper.
How to Prevent Future Leaks
- Wash the sealing ring by hand with mild soap and dry it after each use.
- Avoid boiling liquids and harsh cleaning chemicals.
- Never fill above the maximum line.
- Tighten the blade assembly firmly, but never with force.
- Replace the sealing ring every one to two years if you use the mixer often.
Need a Replacement Jug?
If your jug is cracked or beyond repair, browse GM Group's jug collection and choose the size and style that matches your mixer model. If your whole mixer is old or damaged, you can also explore GM Group's hand mixers.
7 thoughts on “Why Does My Mixer Jug Leak at the Bottom?”